
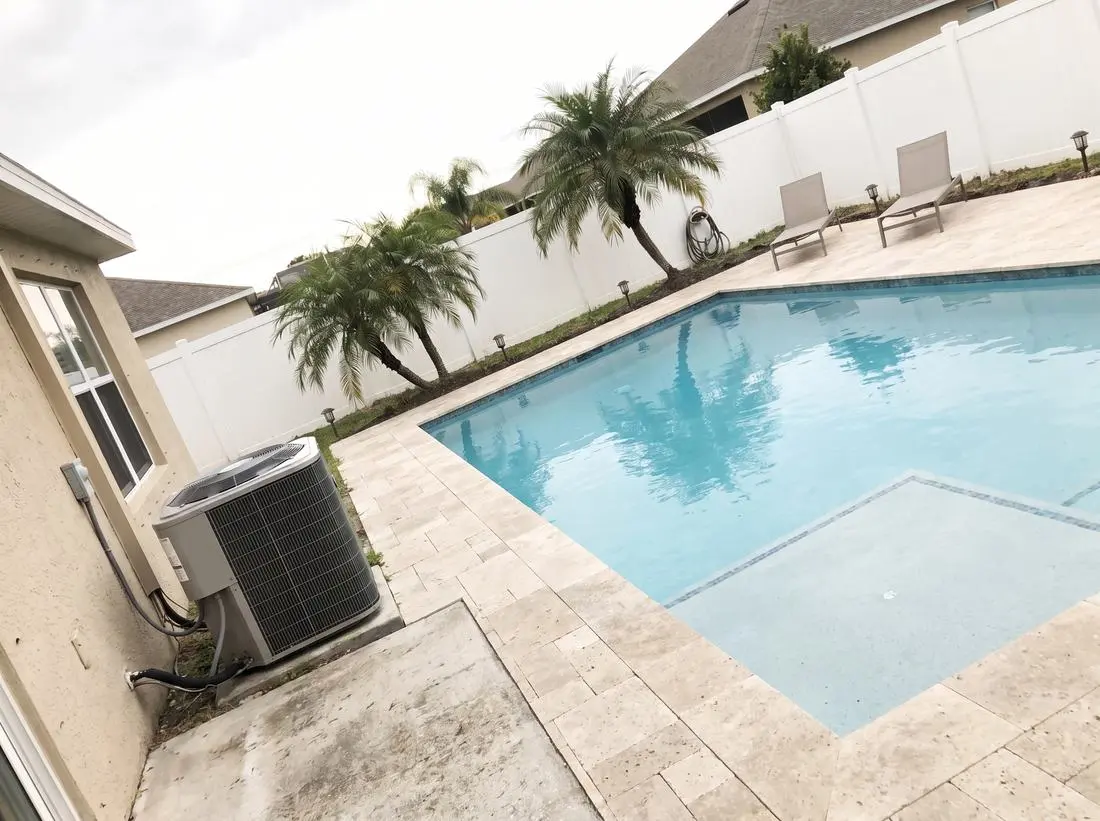
The best cure for pool-build anxiety is knowing exactly what happens next. This page walks through every phase of a CoastLife Pools build, in order, from the first design meeting to the day you swim. You get one project manager from start to finish, so the person who explains this sequence to you at the kitchen table is the same person answering your texts during the dig.
Most builds take 5 to 6 months from contract to swimming, depending on the weather, the pool, and how much outdoor living is in the plan; your written schedule comes with your contract. For the deeper version of each step, see our pool build timeline guide, and start at the custom pool designs and builds page if you have not met the flagship of what we do.
Phase 1: Design and 3D Rendering
We measure your yard, talk through how you will actually use the pool, and build a full 3D design: shape, depths, tanning ledge, spa, deck, equipment location. You see the finished backyard on screen and revise it before anything is signed. Clients tell us the yard matches the rendering, and that is the point of doing it this way.
Phase 2: Contract, Engineering, and Permits
Once the design is locked, we order a new property survey, which takes 2 to 3 weeks. The survey, the pool site plan and the specifications then go to our engineer for construction plans, another 2 to 3 weeks, and from there to the county. Permitting pace is set by the building department, not by us, and it is the least predictable stretch of the whole project. What is in the packet, how Martin County reviews it, and what can slow it down are covered in our guide to pool permits in Martin County. The county permit itself typically takes 2 to 4 weeks. Financing through Lyon Financial gets arranged in this window too.
If you have an HOA, it will want the survey and the engineered plans as well. We email them to you, and you complete the application and submit the packet to your board. We can give you a start date once the permit is issued, the HOA has approved, and your irrigation is cut and capped where the pool is going. We aim to start one pool a week, so your dig goes on the next open week after that.
Phase 3: Layout and Excavation
The crew paints the pool’s outline in the yard, you approve the position, and the dig begins. Excavation itself is fast, and it is the most dramatic phase: your yard will look like a construction site, because it is one. Access matters here; we plan the equipment path with you before the first machine arrives.
Phase 4: Steel and Plumbing Rough-In
A cage of rebar is tied throughout the excavation to reinforce the shell, and the plumbing lines, suction, returns, skimmer, and any spa or water feature runs, are set and pressure-tested. The county inspects the steel and plumbing before anything is covered.
Phase 5: Shell and Footers
Concrete is pneumatically applied over the steel to form the pool shell, then cured. The footers go in during this phase as well. For the next several weeks the shell needs to be watered down regularly while the concrete gains strength, a job we will show you or handle on our visits. The shell cures while other phases proceed.
Phase 6: Tile, Coping, and Deck
Waterline tile goes on, coping caps the pool’s edge, and the deck is formed and finished around it. This is where the design choices become visible and the project starts looking like the rendering. Decks, pavers, and any outdoor kitchen planned into the project are built in this stretch; see pool decks and coping for the options.
Phase 7: Equipment Set: Electrical, Screens, and Barriers
Pump, filter, salt system, heater, automation, and lights are installed and wired. If a heat pump or salt system is in your build, this is when it lands on the pad. Florida law requires variable-speed pumps on new builds, which is good news for your electric bill.
This phase is also where the work around the pool gets closed out. The electrical permit is finished and closed, and the final electrical inspection happens here. The screen enclosure goes up, or an existing screen is repaired, and the safety barrier is set.
Phase 8: Interior Finish and Fill
The interior finish, plaster, quartz, or pebble, is applied in a single continuous pour of work, and the hose goes in the same day. The pool fills without stopping to avoid a ring at the waterline.
Phase 9: Startup and Pool School
Fresh plaster and new water need careful chemistry for the first 28 days, and we handle that startup period. Then comes Pool School: we walk you through every valve, timer, and setting on your equipment pad, and you leave with a starter kit, so you are fully set up for success running your own pool. Most owners roll straight into a weekly service plan so the pool that was built right stays that way.
How long does the whole build take?
From contract signing to swimming, most Martin County builds run 5 to 6 months: permitting first, then 3 to 4 months of construction depending on the complexity of the build. We publish the full breakdown, phase by phase, in our pool build timeline guide, and your contract includes a written schedule.
Who do I talk to during construction?
One project manager, assigned at contract and with you through startup. You are never handed between departments or told to call the office and start over. That continuity shows up in our reviews more than any other single thing.
Ready to see your yard in 3D? Request a build quote or call (772) 266-4355.